A Dreamy Ocean Oasis Mural
A DIY friendly process for creating a dream bedroom for a little girl who loves the ocean
DIY HOME RENOVATIONS
Rebecca Kelly
5/11/20264 min read
We have moved four times since my daughter was born.
Four different bedrooms. Four different sets of walls. Four times watching her drag her stuffed animals into a new space and try to make it feel like home. By the time we settled into this house, I made it a priority to create a space she felt fully connected to.
Designing for NOW and not resale value
I really had to let go of the instinct to “design for longevity.” This can sometimes mean creating something that doesn’t actually feel like theirs. I’ve seen plenty of beautiful, neutral, Pinterest-perfect children’s rooms that feel more like a showroom than a space where a child lives.
I wanted something different. I wanted her to walk in and finally feel at home.
That said, I wasn’t totally reckless about it. The key was thinking about what could flex with her and what needed more consideration. She's only little for a short time, so I decided I would worry about resale value later and painted the walls exactly as she wanted. Decals can always be removed, and waves can always be painted over.
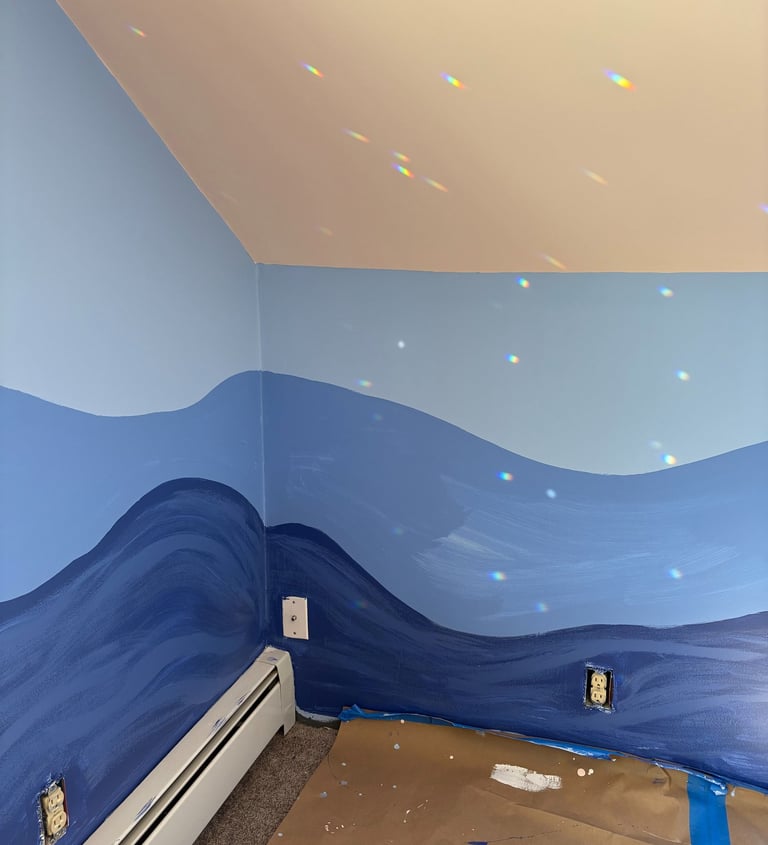
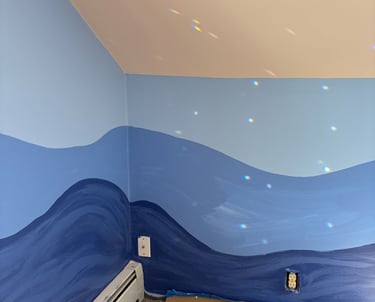
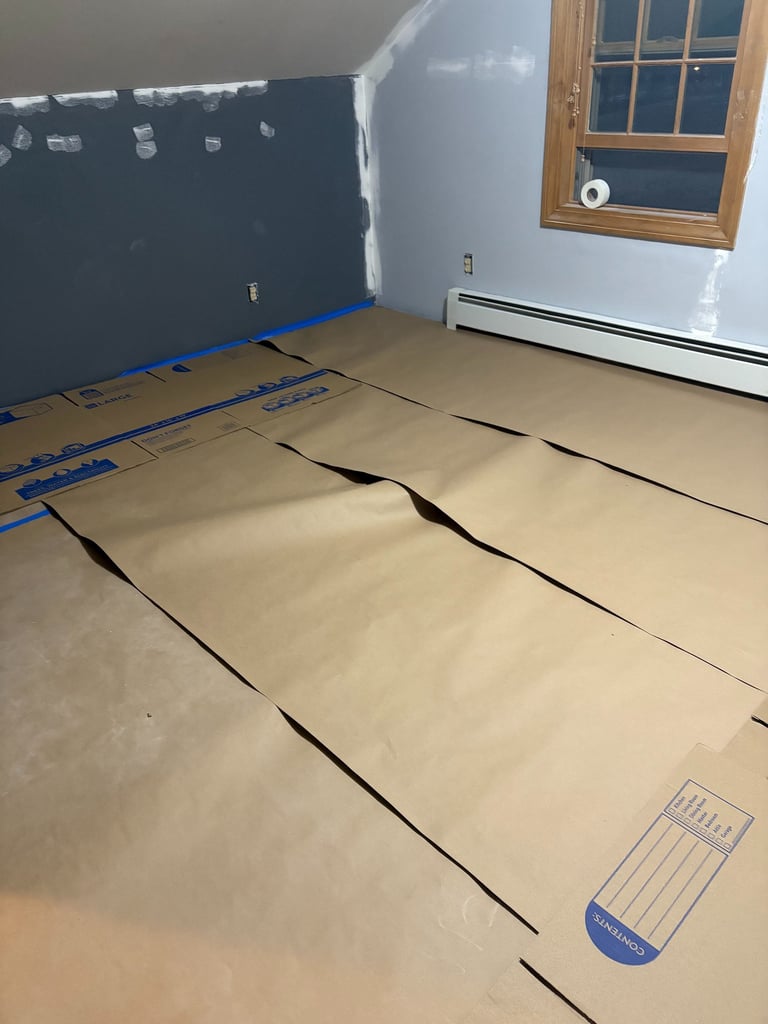
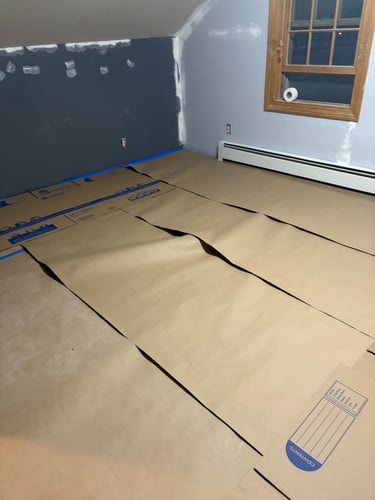
Phase 1 - Wall repair and base color paint
Phase 2 - Ocean Waves
Phase 3 - splashing texture
Tools I needed to make this happen
Drywall repair: I will tell you flat-out, you need the right tools for this. Don't just use a 2-inch putty knife. If you have anything that needs taping and serious repair, please invest in a mud pan, taping knife, and actual joint compound
Installing baseboards: If you have squared edges like me, you may be ok with just cutting squared edges and using caulking to cover the seams, but if you don't have one already, a miter saw will be the best way to cut at an angle
Painting continuous rolling waves across the whole room: this one is pretty easy; just make sure that, with all your paint brushes and trays you already have for a paint job, you also pick up a few containers to mix paint. I'd get some sponges too if you want to play around with different textures. The one tool I'll shout out is the roll of adhesive carpet protection that I learned about after taping down 250 square feet of paper.
My tip for all three: YouTube has a wealth of contractors who share their knowledge and break it down. You'd also be surprised by the number of classes you can find at your local Home Depot.
The Mural: Ocean waves on every wall
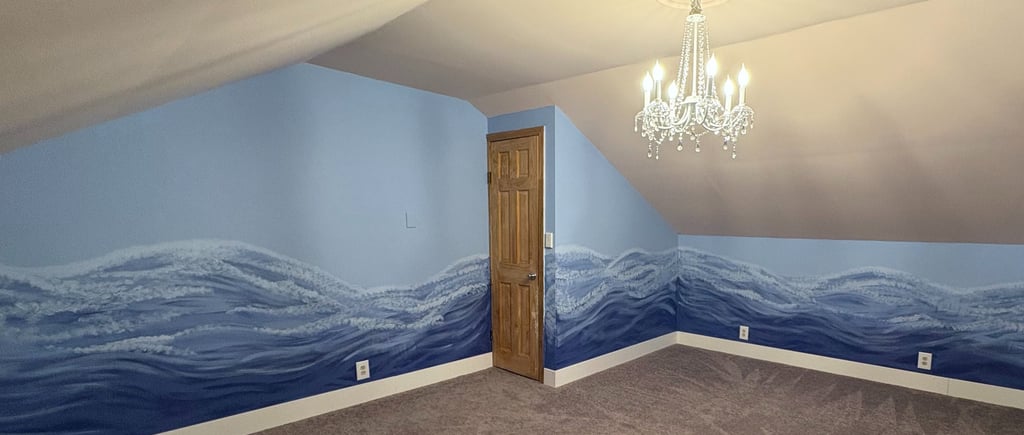
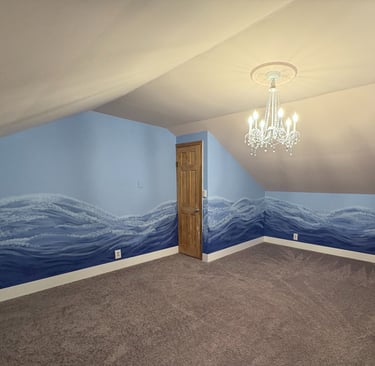
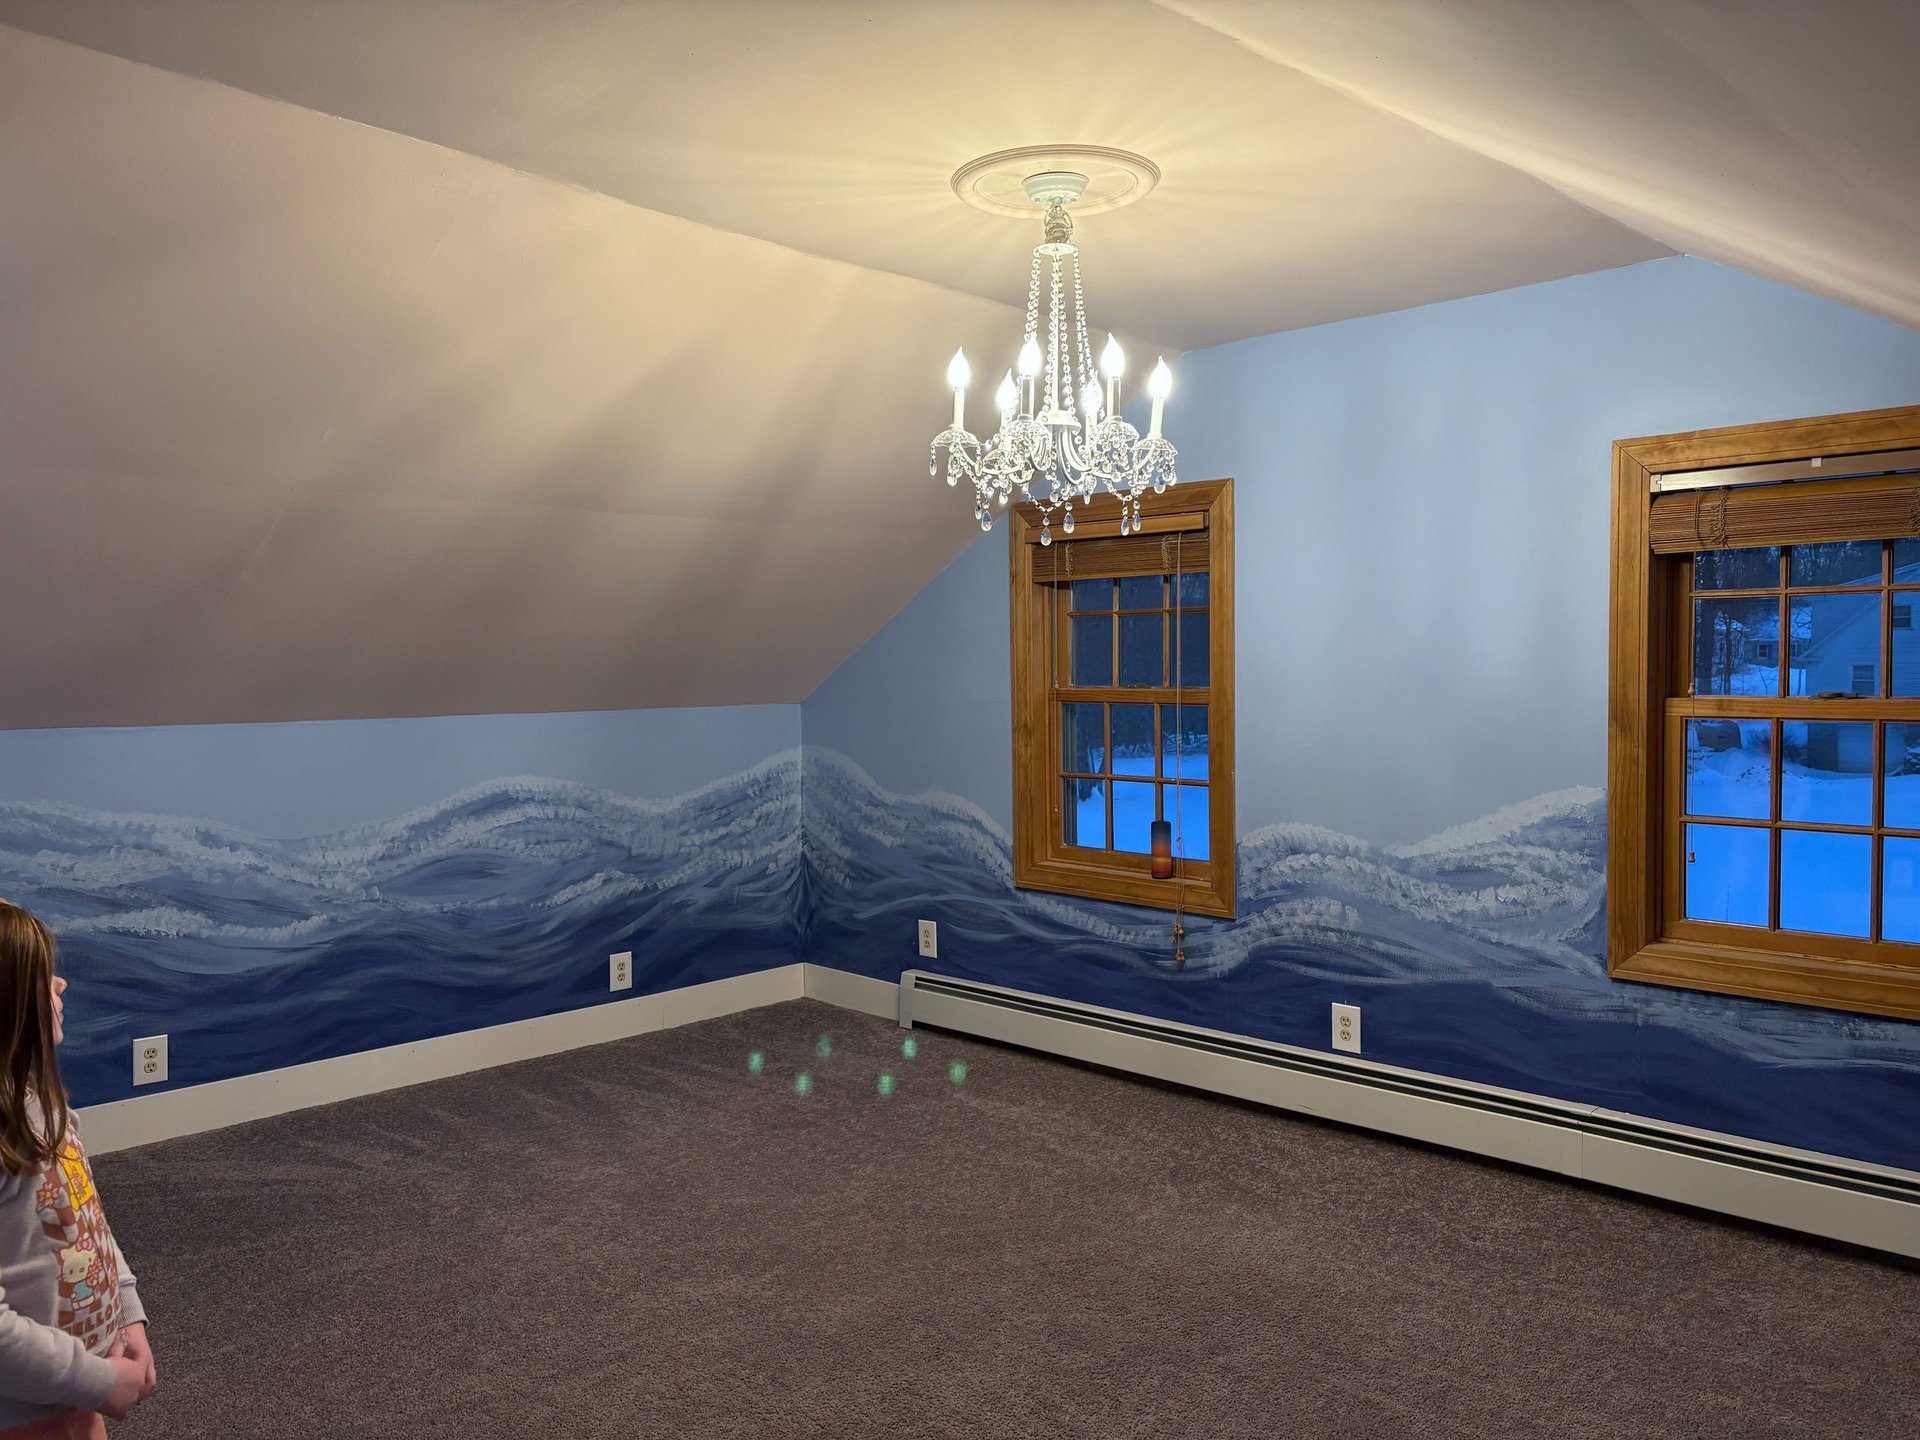
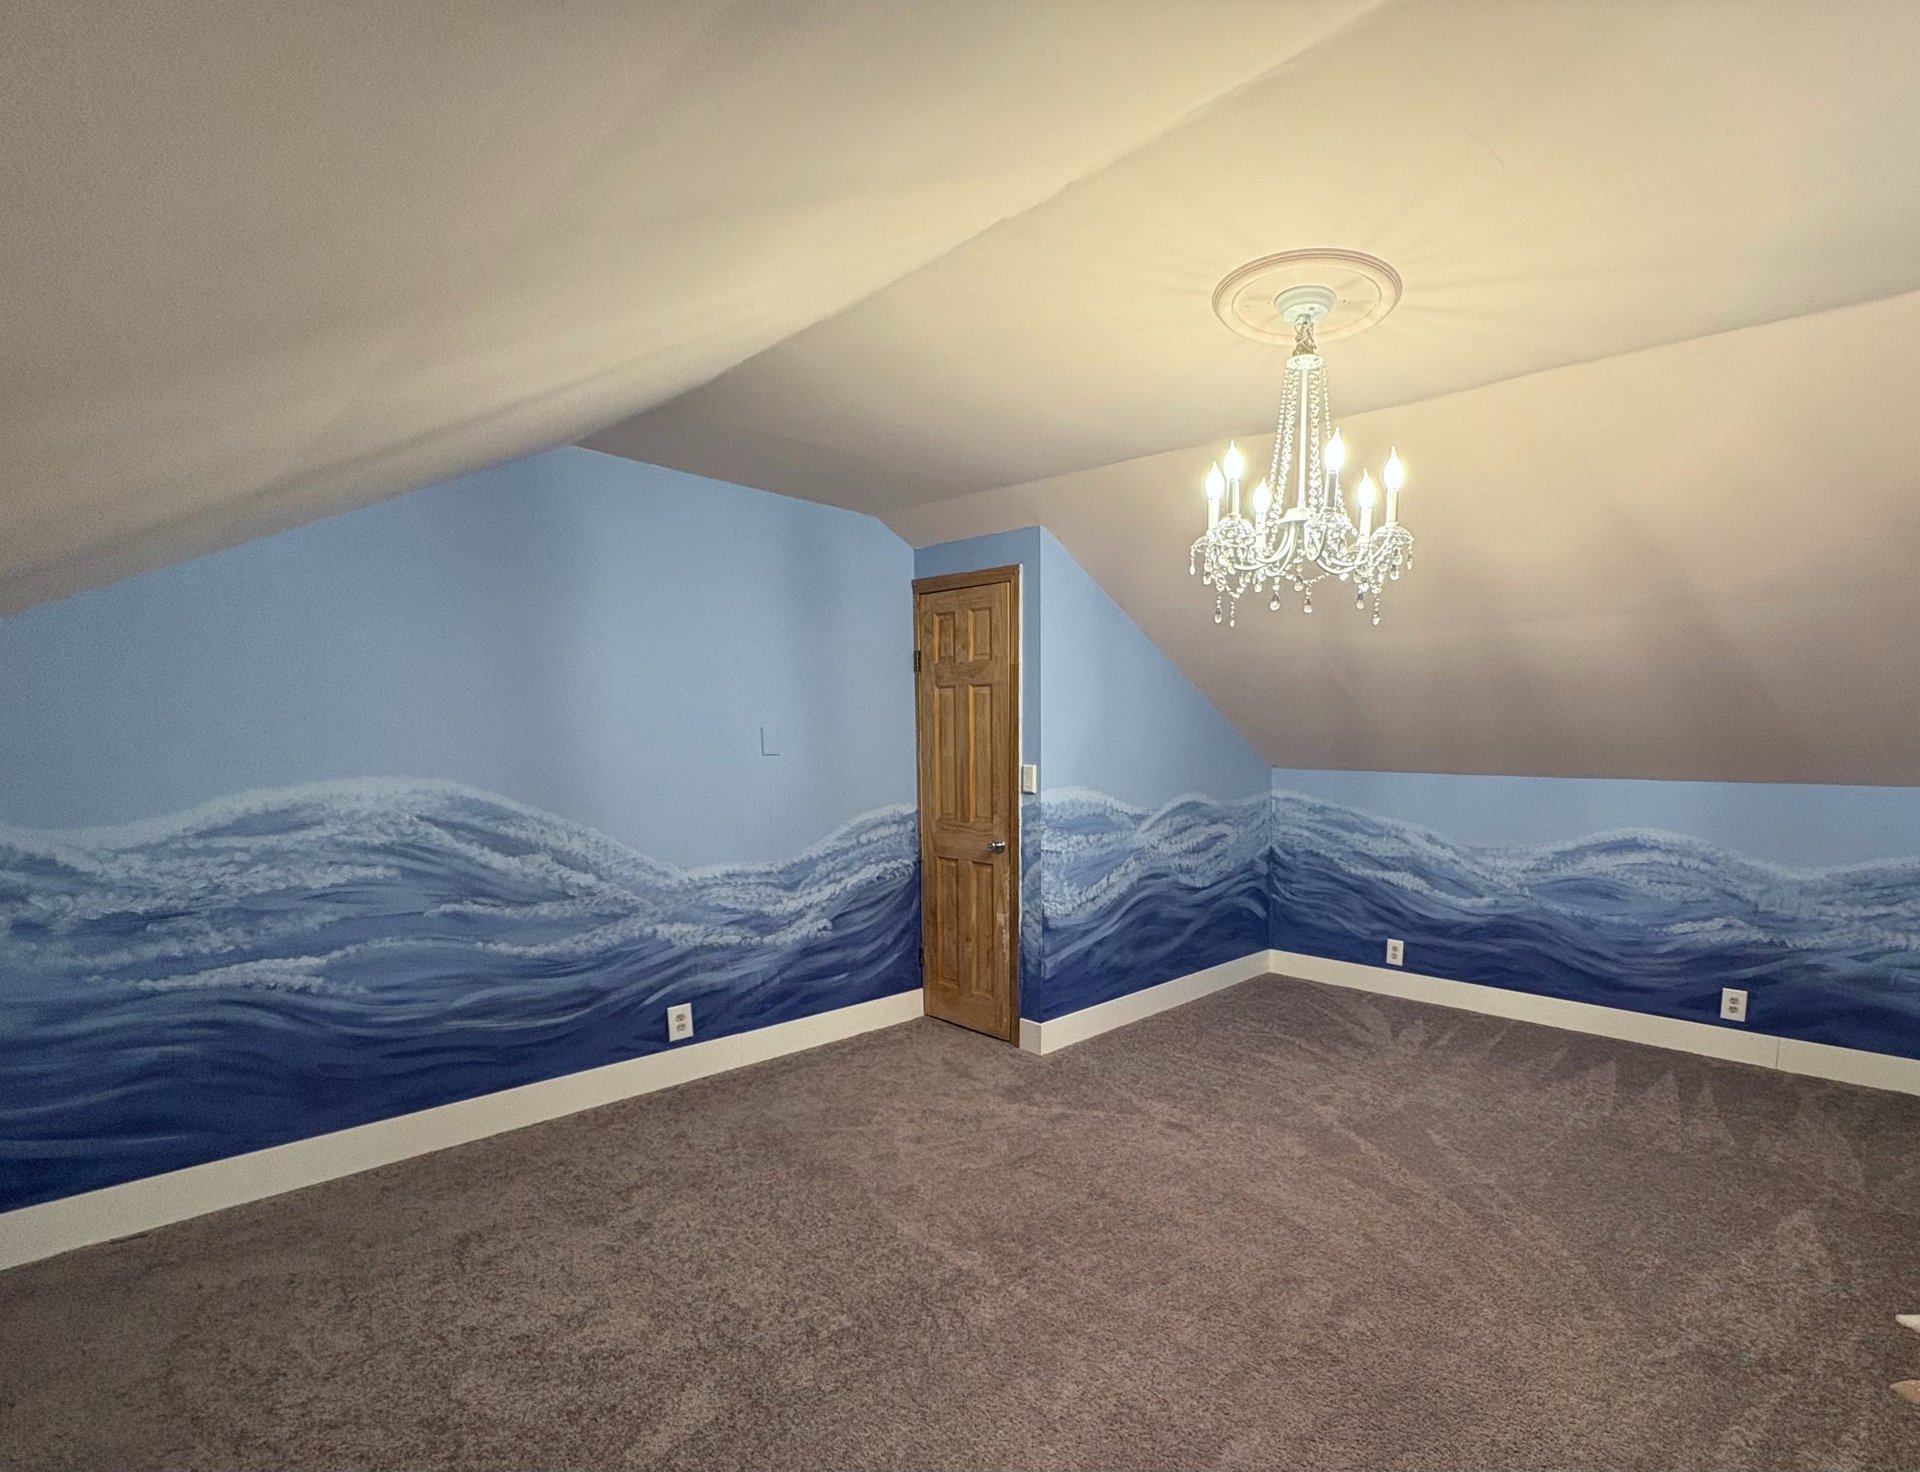
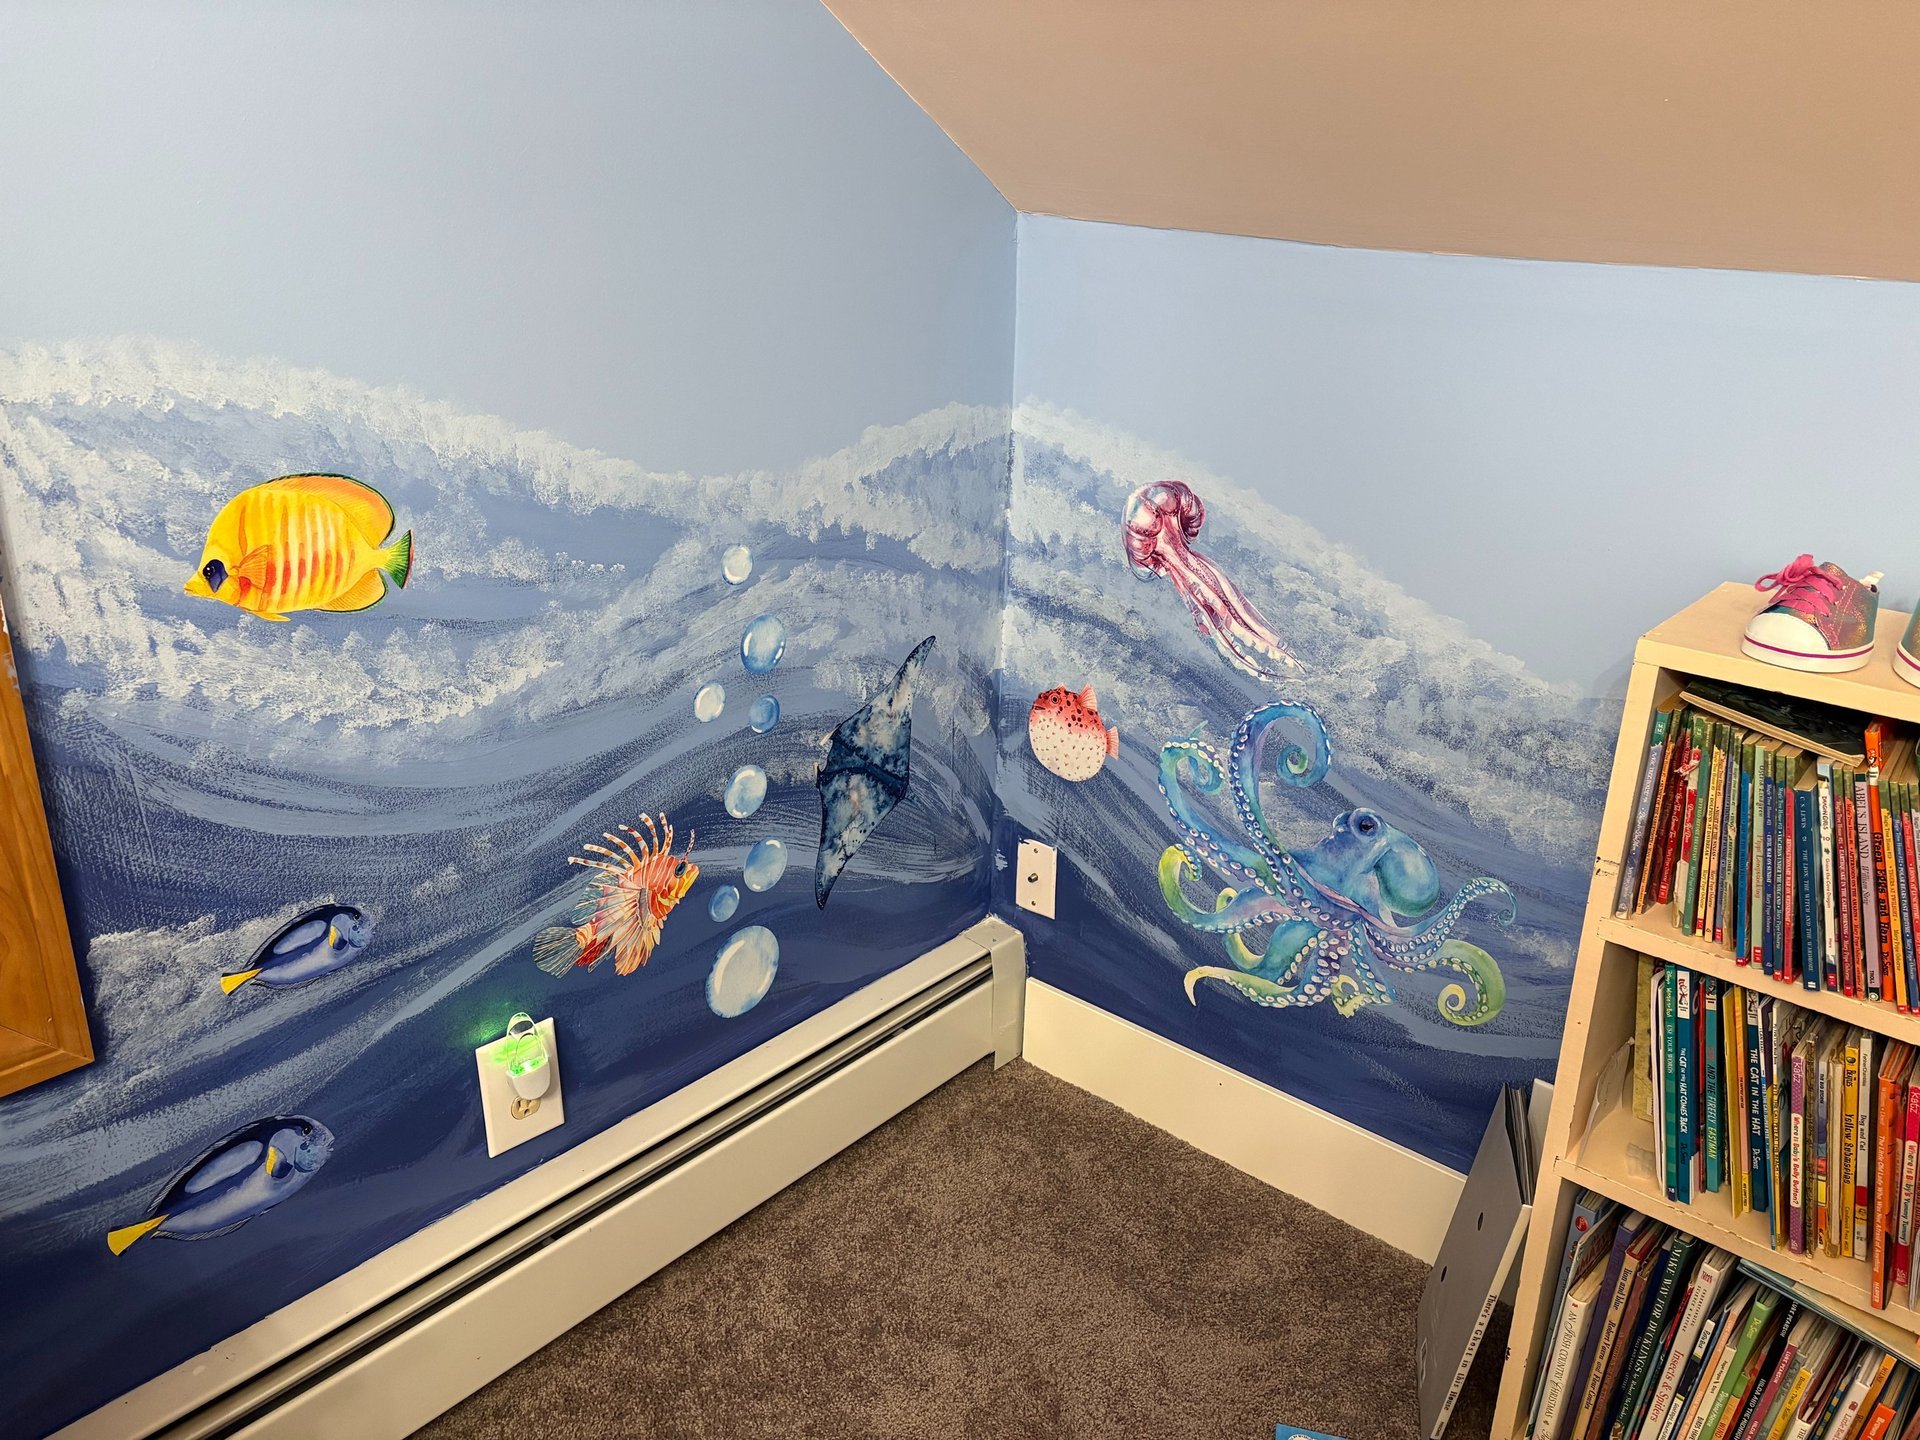
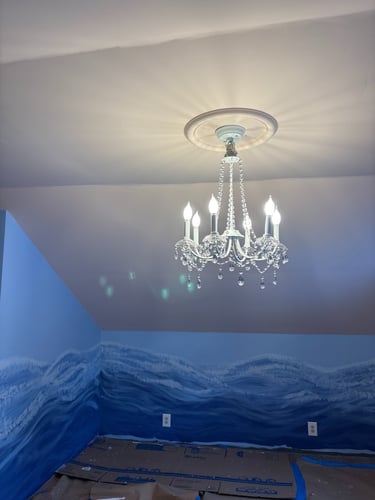
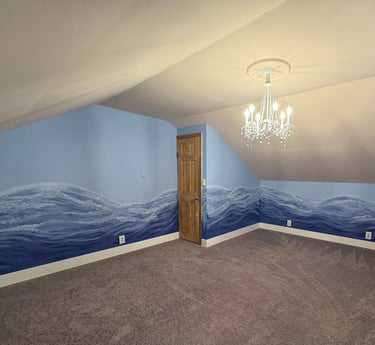
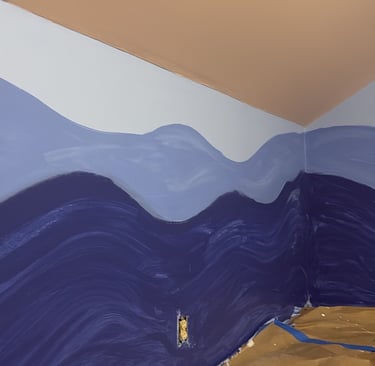
I painted a continuous, rolling ocean wave across all four walls, creating a scene that envelops the entire room with water and movement. Working on a wall was a very different experience from my usual neat illustration software; I definitely recommend wearing clothing protection. After applying the base color, I used two darker, complementary shades to layer in the waves, indicating shallow and deep water. Once dry, I added texture with brushes and sponges, layering all three colors sporadically to mimic splashing, moving water. Not satisfied yet, I mixed the leftover base color with a bit of white, originally intended for the baseboards, to create a light blue for highlights on the water and foam. You can see what it looked like before I added ocean creatures.
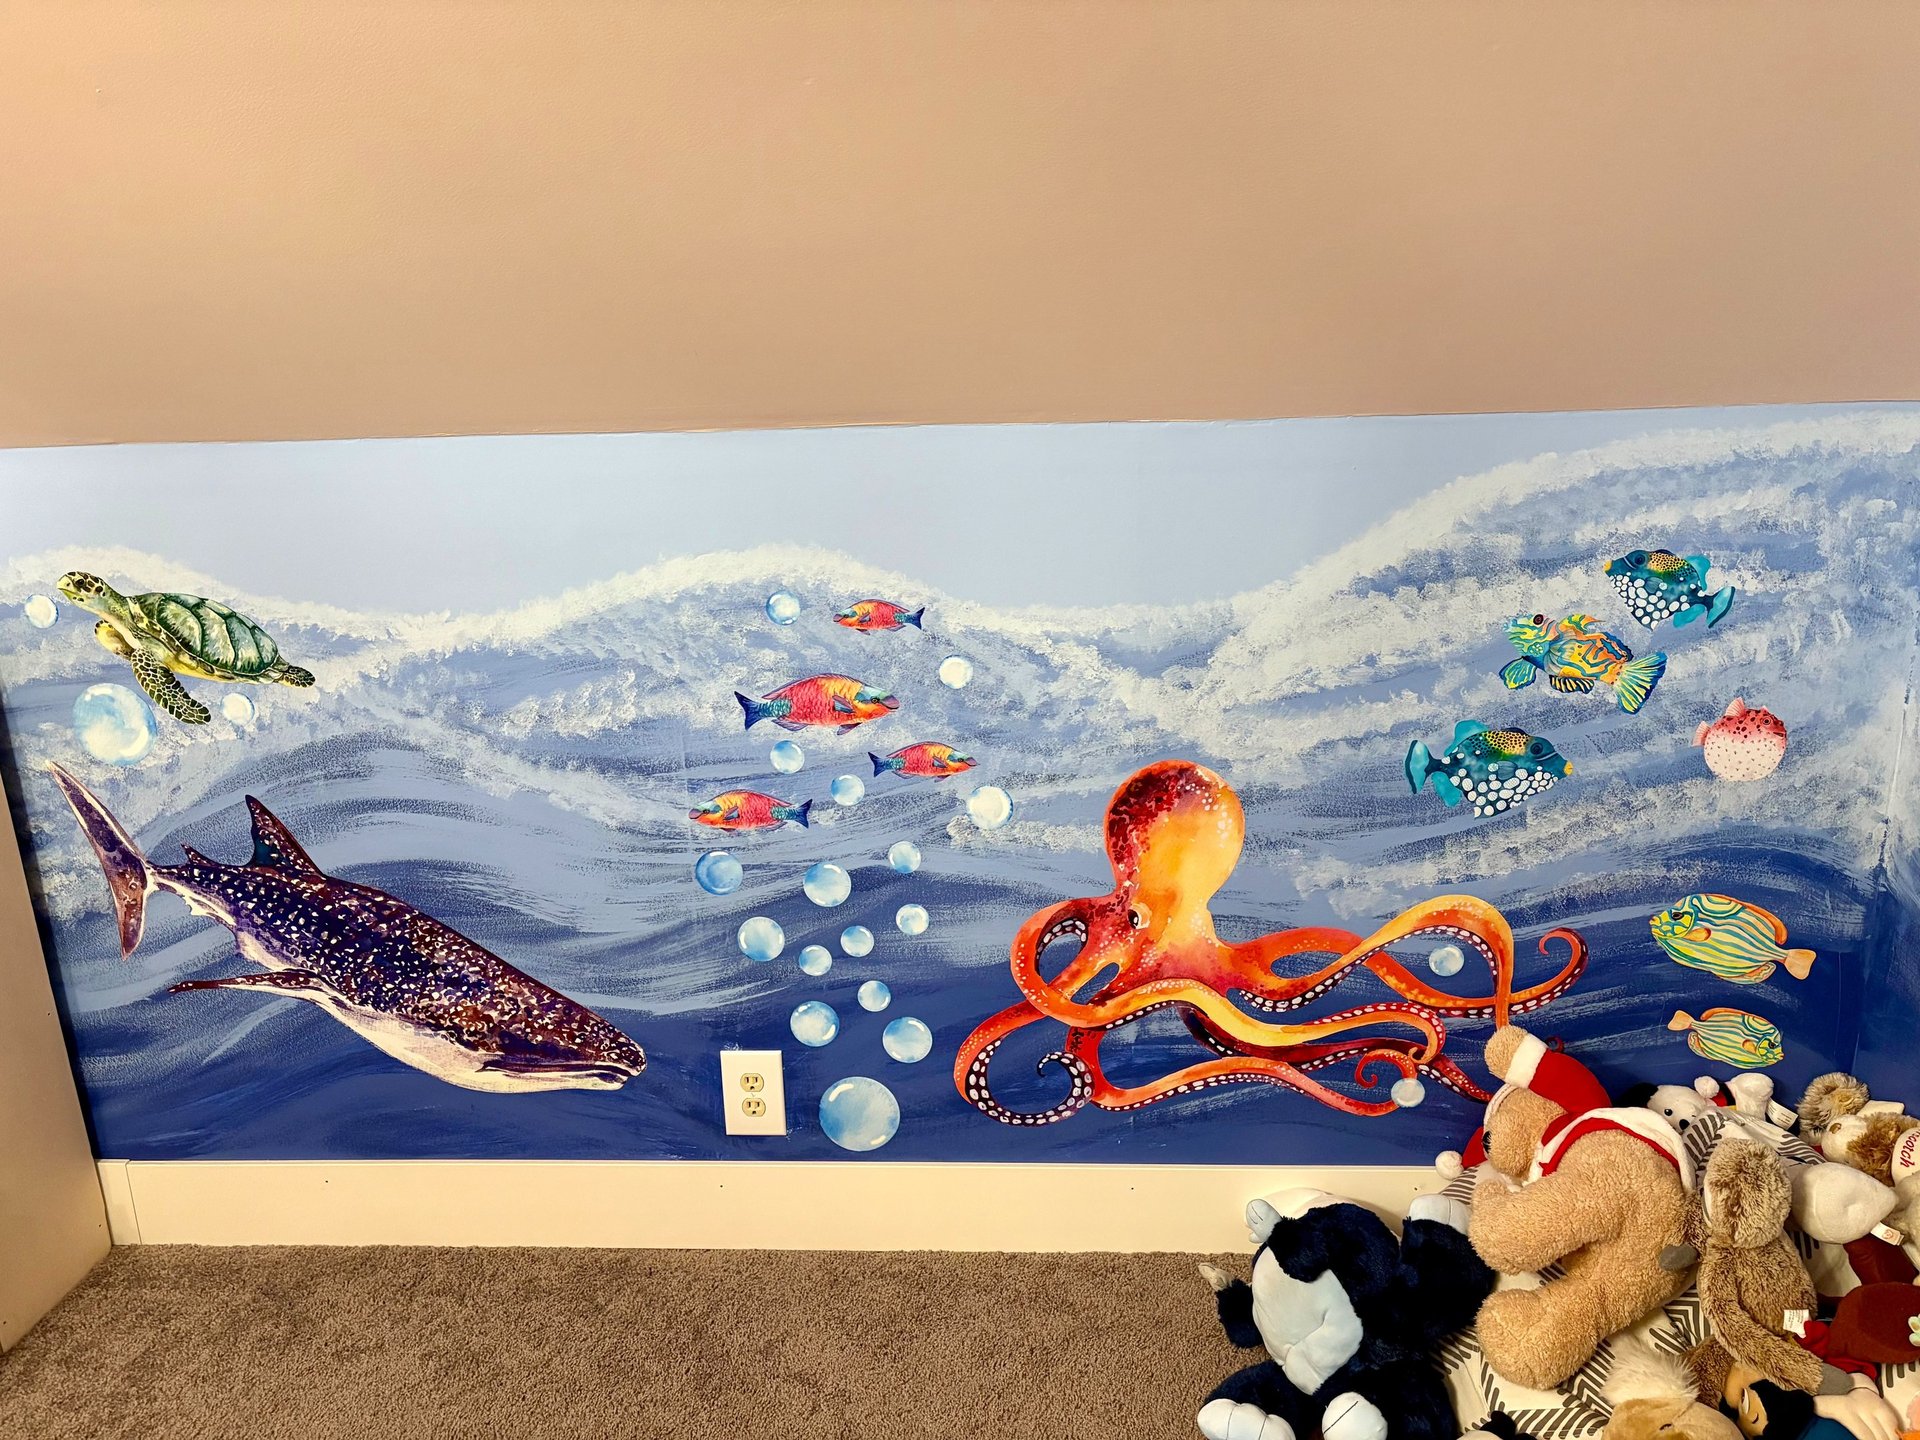
For the fish and coral, I needed help. I found a fantastic Etsy shop selling ocean-themed wall decals, which added perfect detail and color, and were much more precise than freehand painting. Combining the painted mural with decals made the scene truly come alive. If you’re nervous about creating a mural, I highly recommend this hybrid approach. The decals’ high-quality wallpaper won't damage your paint, and I could move them around until I achieved the perfect scene. The Etsy artist offers many themes suitable for all ages and various sizes.
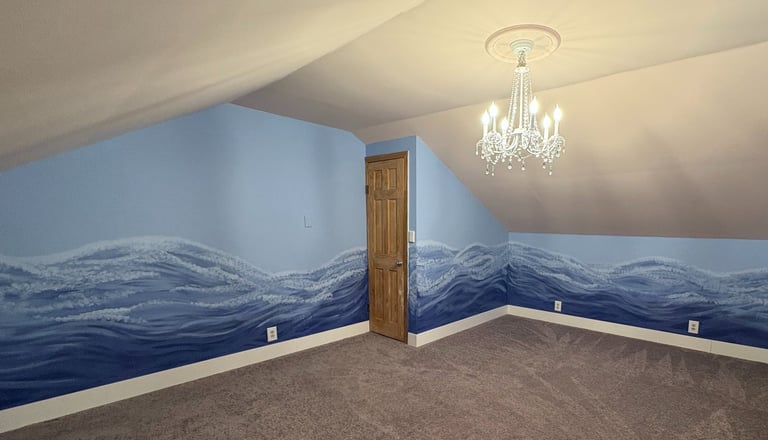



The Ceiling
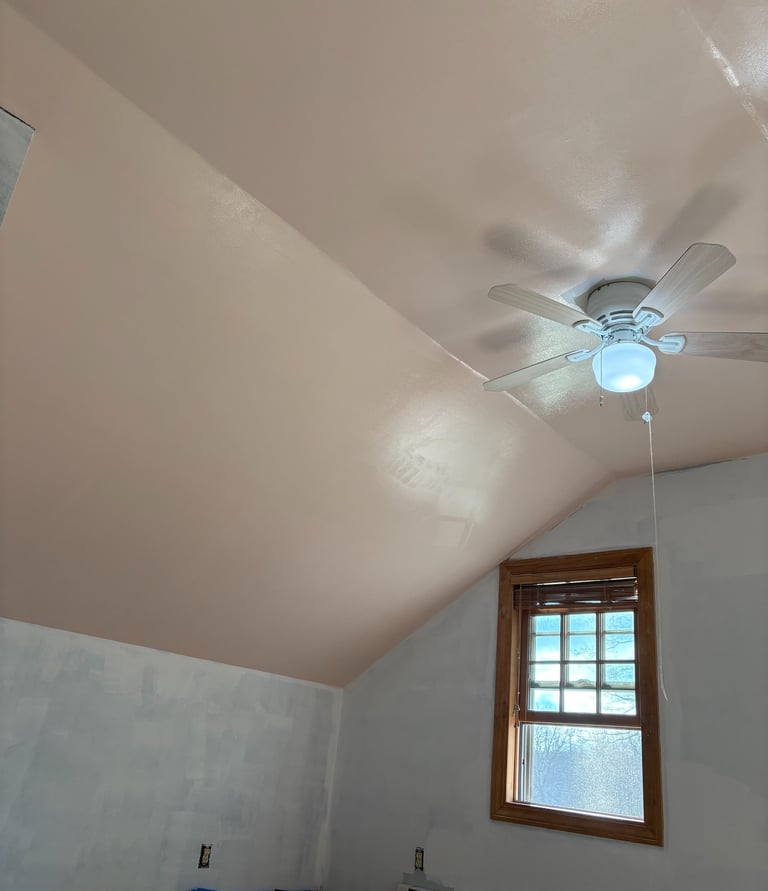
My daughter’s room features a sloped ceiling, and she had a clear vision: a complete sunset. To avoid straining my shoulder, I compromised by painting it a soft, pastel pink reminiscent of a sunset, warm and dreamy but not overpowering.
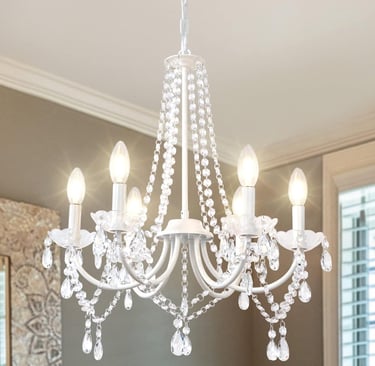
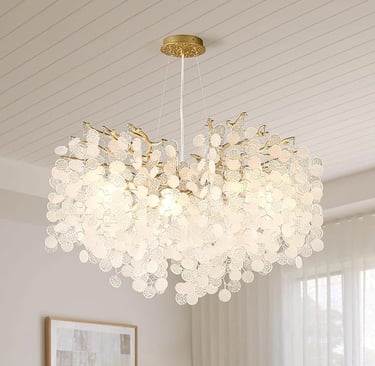
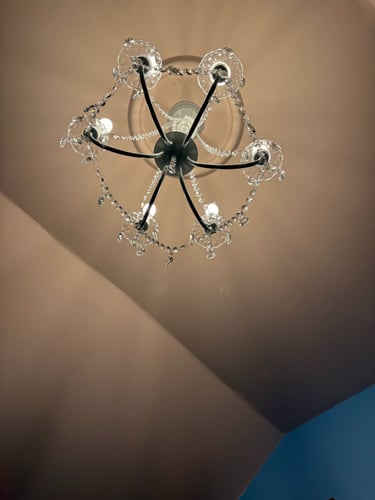
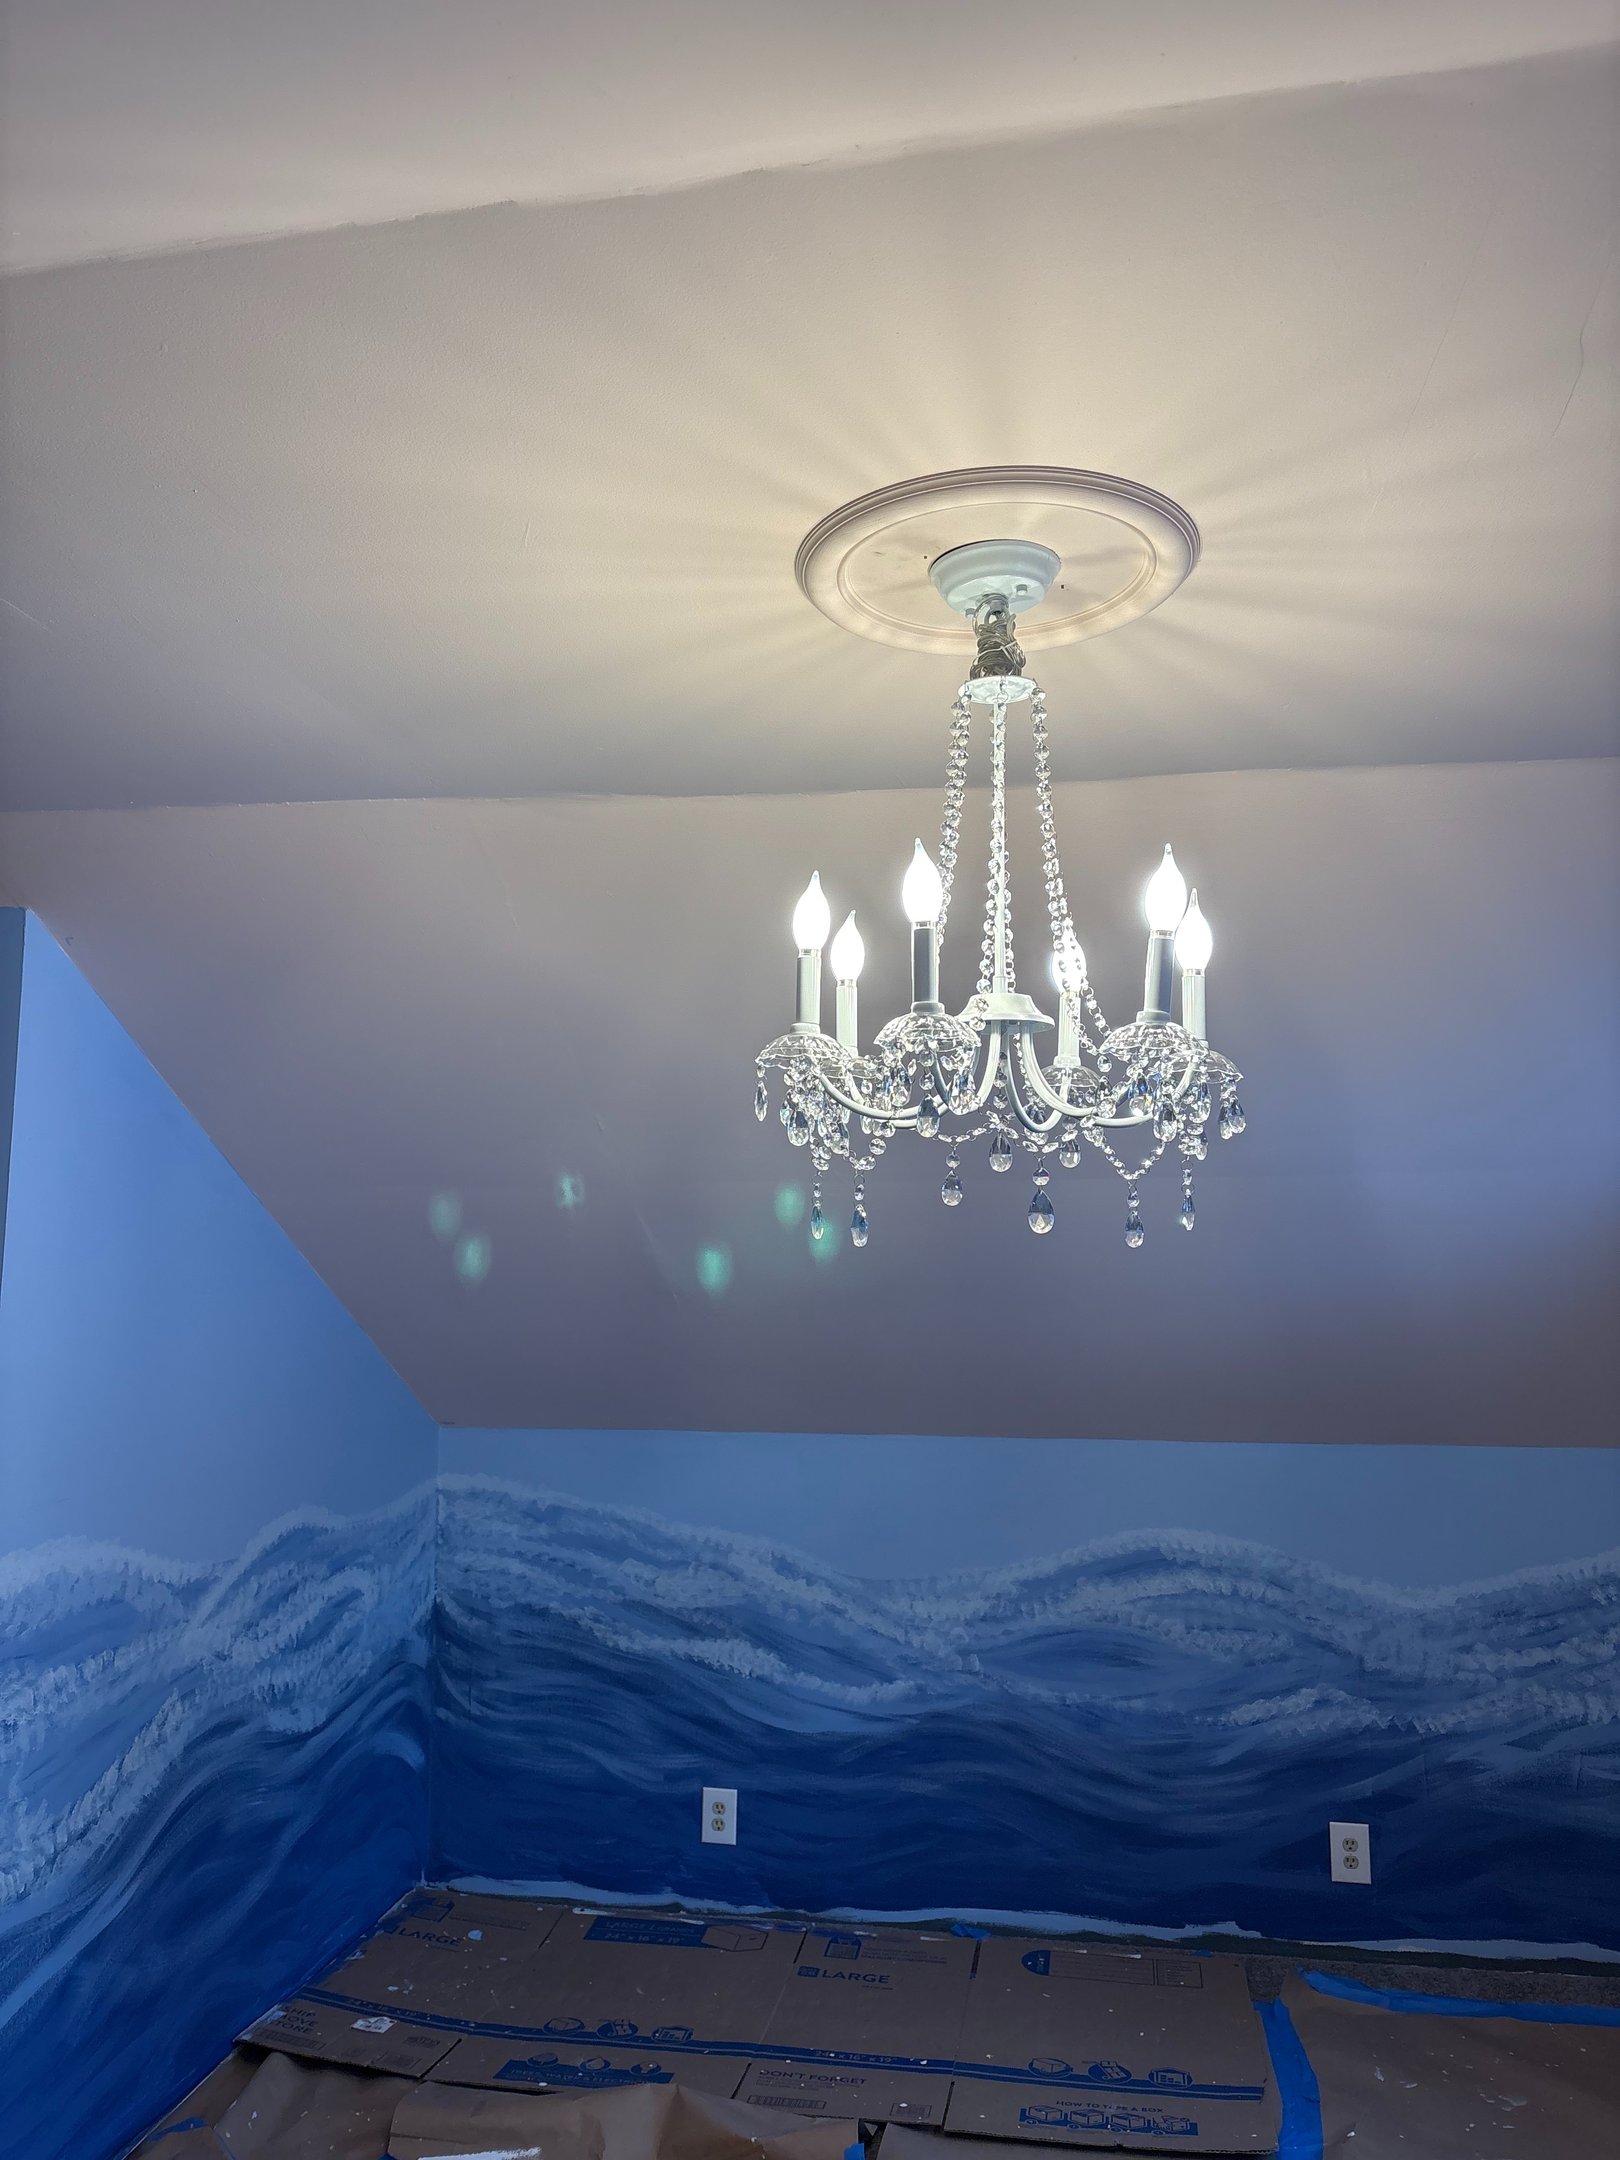
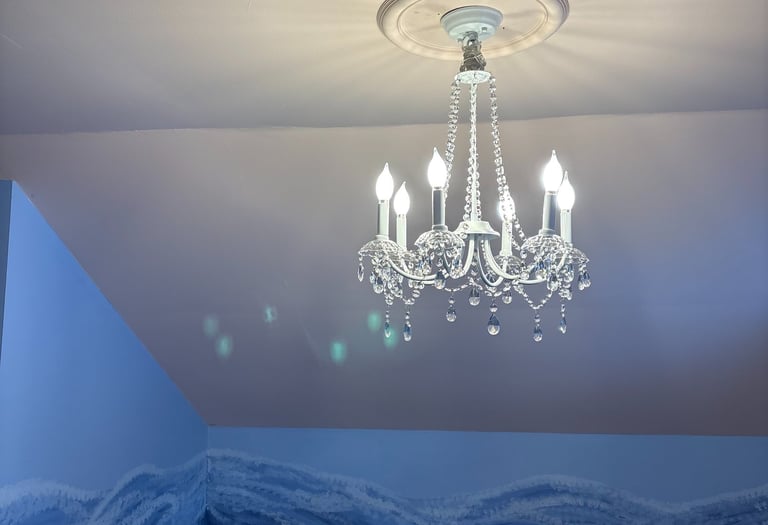
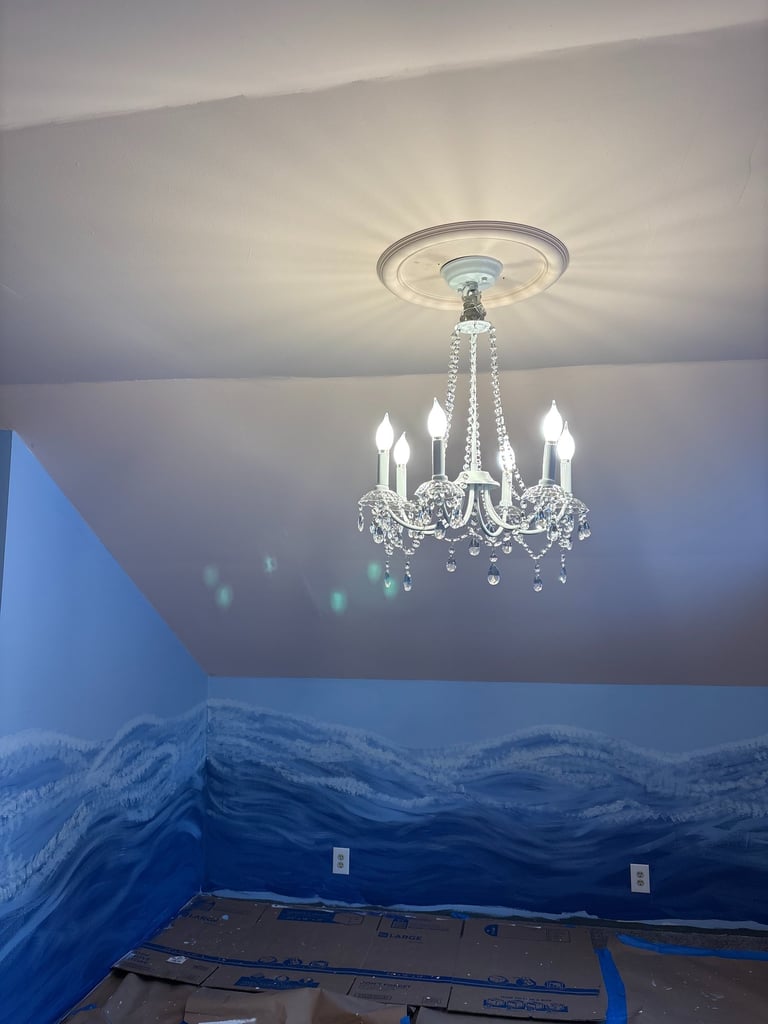
Since light fixtures are a more permanent element of a room, I went with something that would evolve with her tastes, even if she painted over the walls someday.
Changing a room's ceiling light is one of the most underrated updates to any room. You can find stunning options for under $200. I'll link the chandelier we used below!